
Online advertisement is everywhere, I used to tolerate it to a certain extent as I know a lot of web content providers used that as their primary source of revenue. But sometimes it can be so annoying that I wanted to just shut them off. Not to mention the numerous security/privacy issues that can arise due to a compromised website serving up malicious ad.
Adblocking is not new, as web users primarily used adblocking web extension. However, this approach suffers from a few limitations:
- It is hard to tell exactly what is blocked, the AdBlock extension usually just indicates the number of ads blocked
- Difficult to manage and customize the block list
- Adblocking is limited to a browser that supports extension. So this would exclude smartphone/smart TV browsers, in-app advertisement, YouTube ad, etc.
I recently saw a YouTube video by Linus Tech Tips, where they show how you can block ads centrally by setting up Pi-Hole, This open-source tool is essentially a self-hosted DNS server that you can load up customized block list. So any DNS query that matches the block list will be dropped (a DNS sinkhole). All you have to do after you set it up is to point your home clients to Pi-hole’s IP address and if configured correctly, you will never see the annoying online advertisement again.
The video uses a Rasberry Pi zero hardware to run the Pi-hole, which I am going to do (and document in Part 2), but first, I want a quick way to test out the functionalities of Pi-hole.
One way to do it on my Windows 10 laptop is to run a Linux VM in Hyper-v and install Pi-hole inside. However, I discovered that there is an official docker image for Pi-hole, so I decided to use container technology for this purpose.
What you need
- The latest version of Windows 10 (version 1903 at the time of writing)
- With the latest version of Docker Desktop for Windows installed
- Familiarity with container technologies and experience running docker commands
Note that there is already a detailed guide on Github about running Pi-Hole using a Docker container. But it uses a docker-compose file that does not really work with Docker Desktop for Windows. So I will just present a simple solution for those running Windows 10.
How to do
First, create the following folders on your C drive
- c:\pihole
- c:\pihole\dnsmasq.d
- c:\pihole\logs
Run the docker command below on a Windows command prompt:
docker run -d –name pihole -p 53:53/tcp -p 53:53/udp -p 80:80 -p 443:443 -v “/c/pihole/:/etc/pihole/” -v “/c/pihole/dnsmasq.d/:/etc/dnsmasq.d/” -v “/c/pihole/log/pihole.log:/var/log/pihole.log” -e ServerIP=”127.0.0.1″ -e WEBPASSWORD=yourpassword -e DNS1=9.9.9.9 -e DNS2=1.1.1.1 –restart=unless-stopped pihole/pihole:latest
The above docker run command will
- Pull the latest pihole container image from docker hub
- Map to the folder created earlier as persistent storage for the container
- Map host port 53,80 and 443 to the corresponding container port
- Assign variable to the container
- SERVERIP – you can leave as 127.0.0.1 for local access only
- WEBPASSWORD – change this to the password you use to login to the Pi-hole dashboard
- DNS1/DNS2 – The upstream DNS servers to use. I use Quad9 and cloudflare. Choose your preferred DNS providers.
- WEBPASSWORD – change it to your super secure password
- Restart policy – the docker will always auto start unless stopped
If the command is run correctly, you should see an output indicating that the status is starting.

Run docker ps command again to make sure that the status has changed to healthy before proceeding.

Connecting to the dashboard
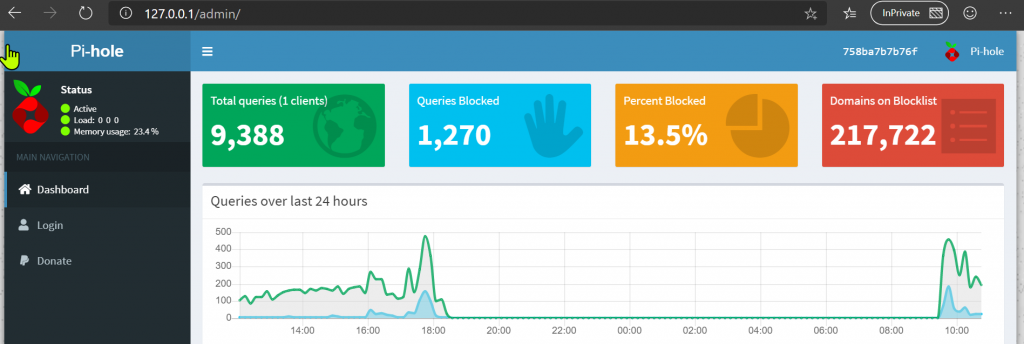
To verify that Pi-hole is working, fire up your browser of choice and connect to http://127.0.0.1/admin. You should see a page similar to the one shown below.
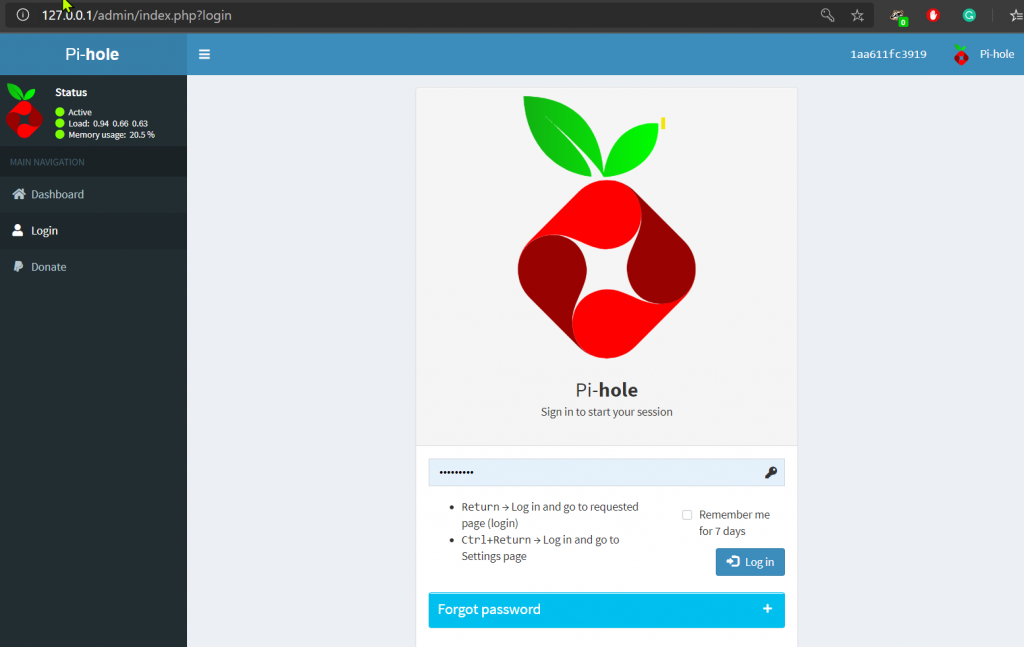
Click Login and type in your password that you entered in the docker run command
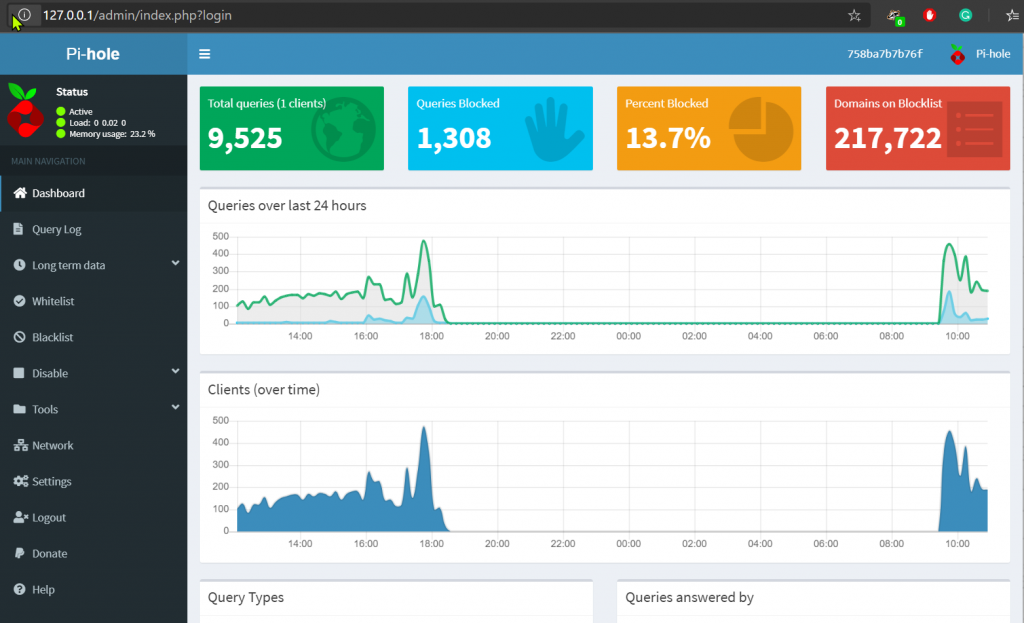
After which, you should see the full admin page with all the options
Configure DNS client and testing
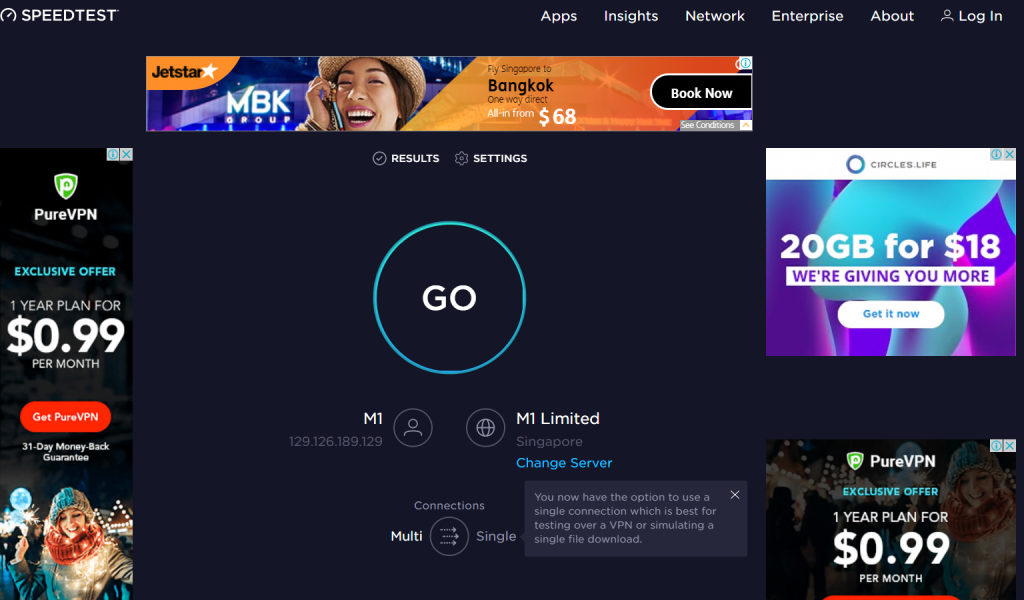
Let’s do a before and after test. First launch your browser and navigate to an advertisement heavy site. I shall use speedtest.com in my demo. Ensure your adblocker browser extension is disabled. You shall see advertisement popping up.
Next, we will configure the Windows 10 client DNS settings to point to 127.0.0.1.
Start – Run – ncpa.cpl. Right click on your connection that you are currently using (Wi-fi or LAN). Select “Internet Protocol Version 4 (TCP/IPv4)”, click the “Properties” button. Configure your DNS IP as shown below. I have added a second DNS IP to point to an external DNS server in case the Pi-hole container fails to startup.

Now, close your browser and relaunch it. Navigate to speedtest.com again (ensure your adblocker browser extension). You should see an Ad-free page.

Cleaning up
If you wish to clean up the Pi-hole containers and images, execute the following command
docker stop pihole
docker rm pihole
docker rmi pihole
Now, onto part 2 where I will install Pi-hole onto a Rasberry Pi. See ye.